Example: Weather Environment#
Overview#
This example will show you:
How to create a simple custom environment that implements the standard MCP protocol
How to locally test this environment
How to publish this environment to
EnvHubHow to pull and use this environment from
EnvHub
Requirements#
Python >= 3.12: Python-based runtime environmentAEnvironment: aenv SDKDocker: used to package theWeatherenvironment into an image
pip install aenvironment
Development Environment#
Initialization#
aenv init weather-demo
You will create a new weather project with the following structure:
Dockerfile
├── config.json
├── requirements.txt
├── src
    ├── __init__.py
    ├── custom_env.py
Dockerfile: Default image build script for AEnv releases, based on a base Ubuntu image that includes the aenvironmentrequirements.txt: Dependencies required by the environmentcustom_env.py: Custom environment business logic
Activate venv#
Prepare a virtual environment for our new project:
cd weather-demo
python -m venv .venv
source .venv/bin/activate
pip install -r requirements.txt
Add MCP Tools#
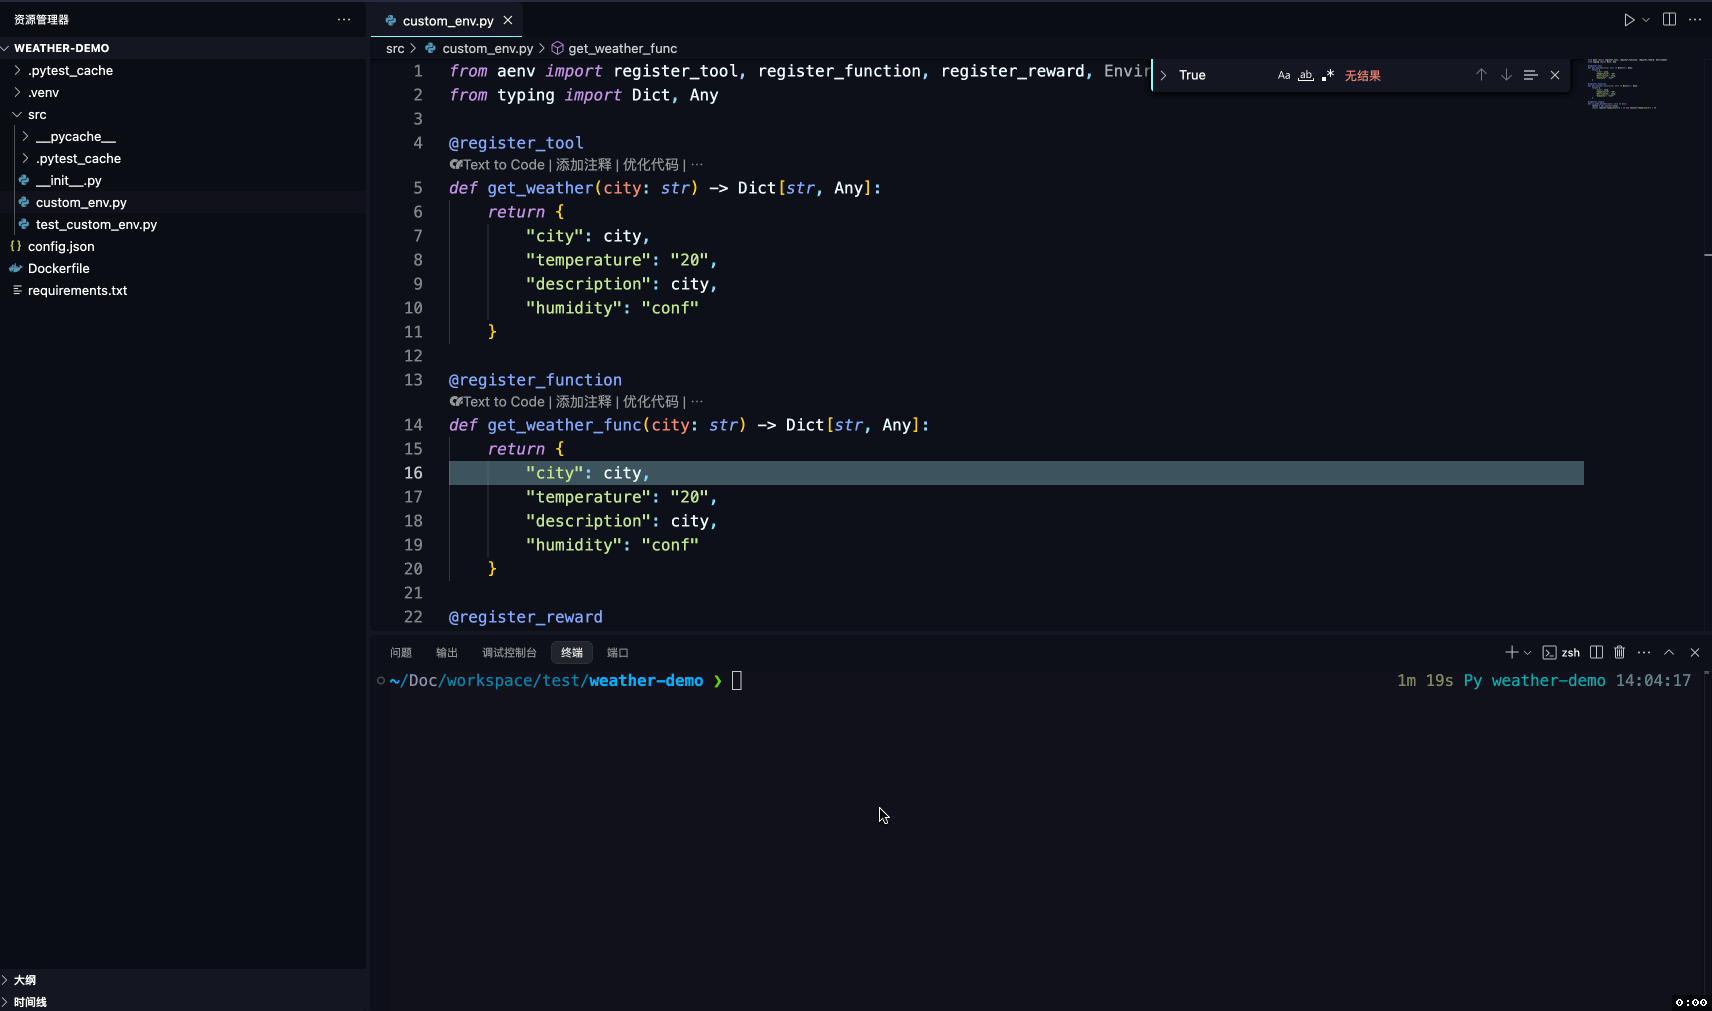
Just add the @register_tools decorator to your Python function to create a standard mcp tool method:
from aenv import register_tool

@register_tool
def get_weather(city: str) -> Dict[str, Any]:
    return {
        "city": city,
        "temperature": "20",
        "description": city,
        "humidity": "conf"
    }
Add Function Tools#
Similarly, add the @register_function decorator to expose a standard function:
from aenv import register_function

@register_function
def get_weather_func(city: str) -> Dict[str, Any]:
    return {
        "city": city,
        "temperature": "20",
        "description": 2city,
        "humidity": "conf"
    }
Add Reward#
How to define a model reward function? register_reward is what you need:
from aenv import register_reward
@register_reward
def is_good_weather(city: str) -> bool:
    result = get_weather(city)
    return result["temperature"] > 15 and result["temperature"] < 30
Congratulations! You have completed the development of a weather environment!
Test Environment#
Run the following command. aenv will start up the environment locally as an MCP Server and install MCP Inspector for testing; it uses port 8081 by default:
# Run this command in your project directory (e.g., weather-demo)
aenv run
It is recommended to use pytest and pytest-asyncio to run unit tests asynchronously.
pip install pytest
pip install pytest-asyncio
Add UnitTest#
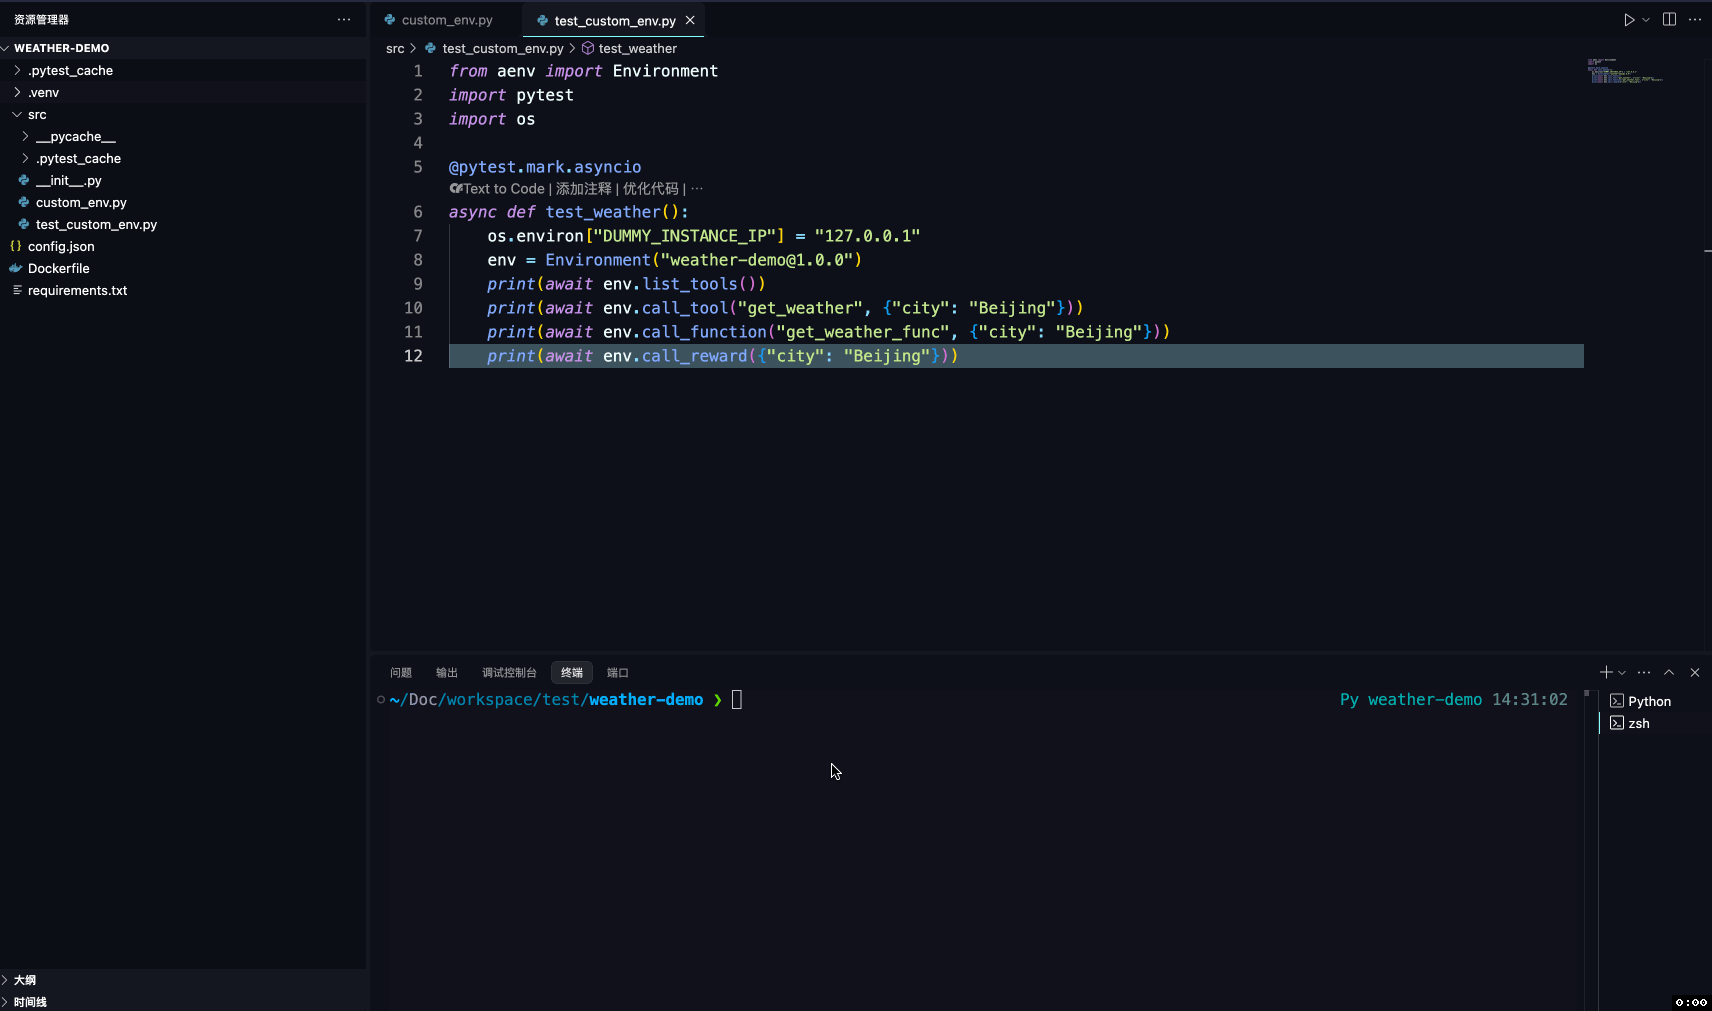
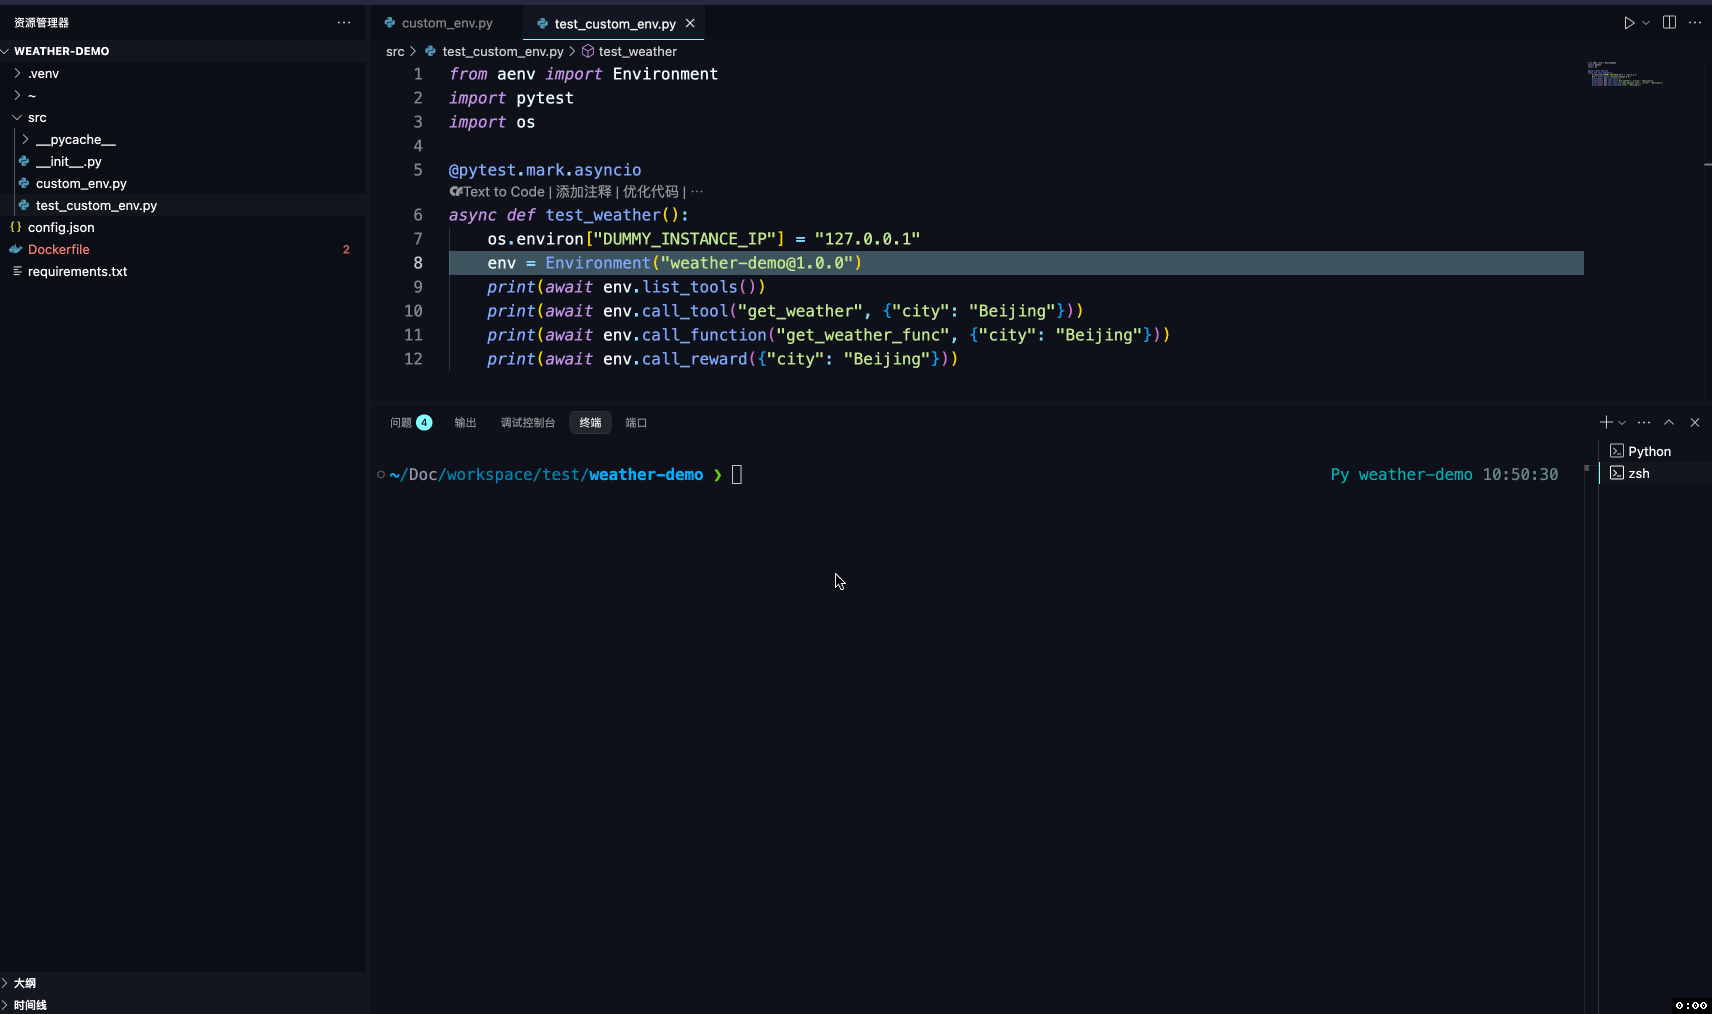
Add a test file test_custom_env.py:
Use the environment variable
DUMMY_INSTANCE_IPto direct requests to the localMCP Serverstarted viaaenv runUse
list_tools,call_tool,call_function, andcall_rewardto invoke the methods created in the environment
from aenv import Environment
import pytest
import os

@pytest.mark.asyncio
async def test_weather():
    os.environ["DUMMY_INSTANCE_IP"] = "127.0.0.1"
    env = Environment("weather-demo@1.0.0")
    print(await env.list_tools())
    print(await env.call_tool("get_weather", {"city": "Beijing"}))
    print(await env.call_function("get_weather_func", {"city": "Beijing"}))
    print(await env.call_reward({"city": "Beijing"}))
Run:
pytest -s src/test_custom_env.py
Publish Environment#
Publishing the environment includes three steps: packaging the image, configuring the backend service, and pushing the image.
Package Image#
Ensure your local docker service is running:
docker info
Run the following command to build and push the image to the target registry:
aenv build --push
After the image is built, you can verify the image output via docker images and the artifacts field in config.json under the project directory.

Configure Backend Service (EnvHub)#
To use the environment in a production cluster, you need to publish it to a deployed EnvHub backend service. For backend deployment, refer to Deployment Guide.
Assume we have deployed a k8s environment locally using minikube, where the EnvHub service address is http://localhost:8083:
aenv config set hub_backend http://localhost:8083/
Push Environment#
Run the following command to upload the env metadata to EnvHub:
# Push environment information
aenv push
# Retrieve environment
aenv get weather-demo
# Filter list
aenv list | grep weather-demo
Using Environment#
Configure API Service#
In production, to use environments from EnvHub, you must call the api service to initiate remote requests. For deploying api service, refer to Deploying api service on a k8s Cluster.
Assume we have deployed a simple environment locally using minikube, where the api service address is http://localhost:8080 and the MCP request forwarding address is http://localhost:8081.
Environment Usage#
Add business logic in run_custom_env.py:
Use the environment variable
AENV_SYSTEM_URLto specify a customapi serviceaddressUse
list_tools,call_tool,call_function, andcall_rewardto invoke the methods created in the environmentCall the
releasemethod after use to ensure the remote instance is properly released
import time
from aenv import Environment
import os
import asyncio
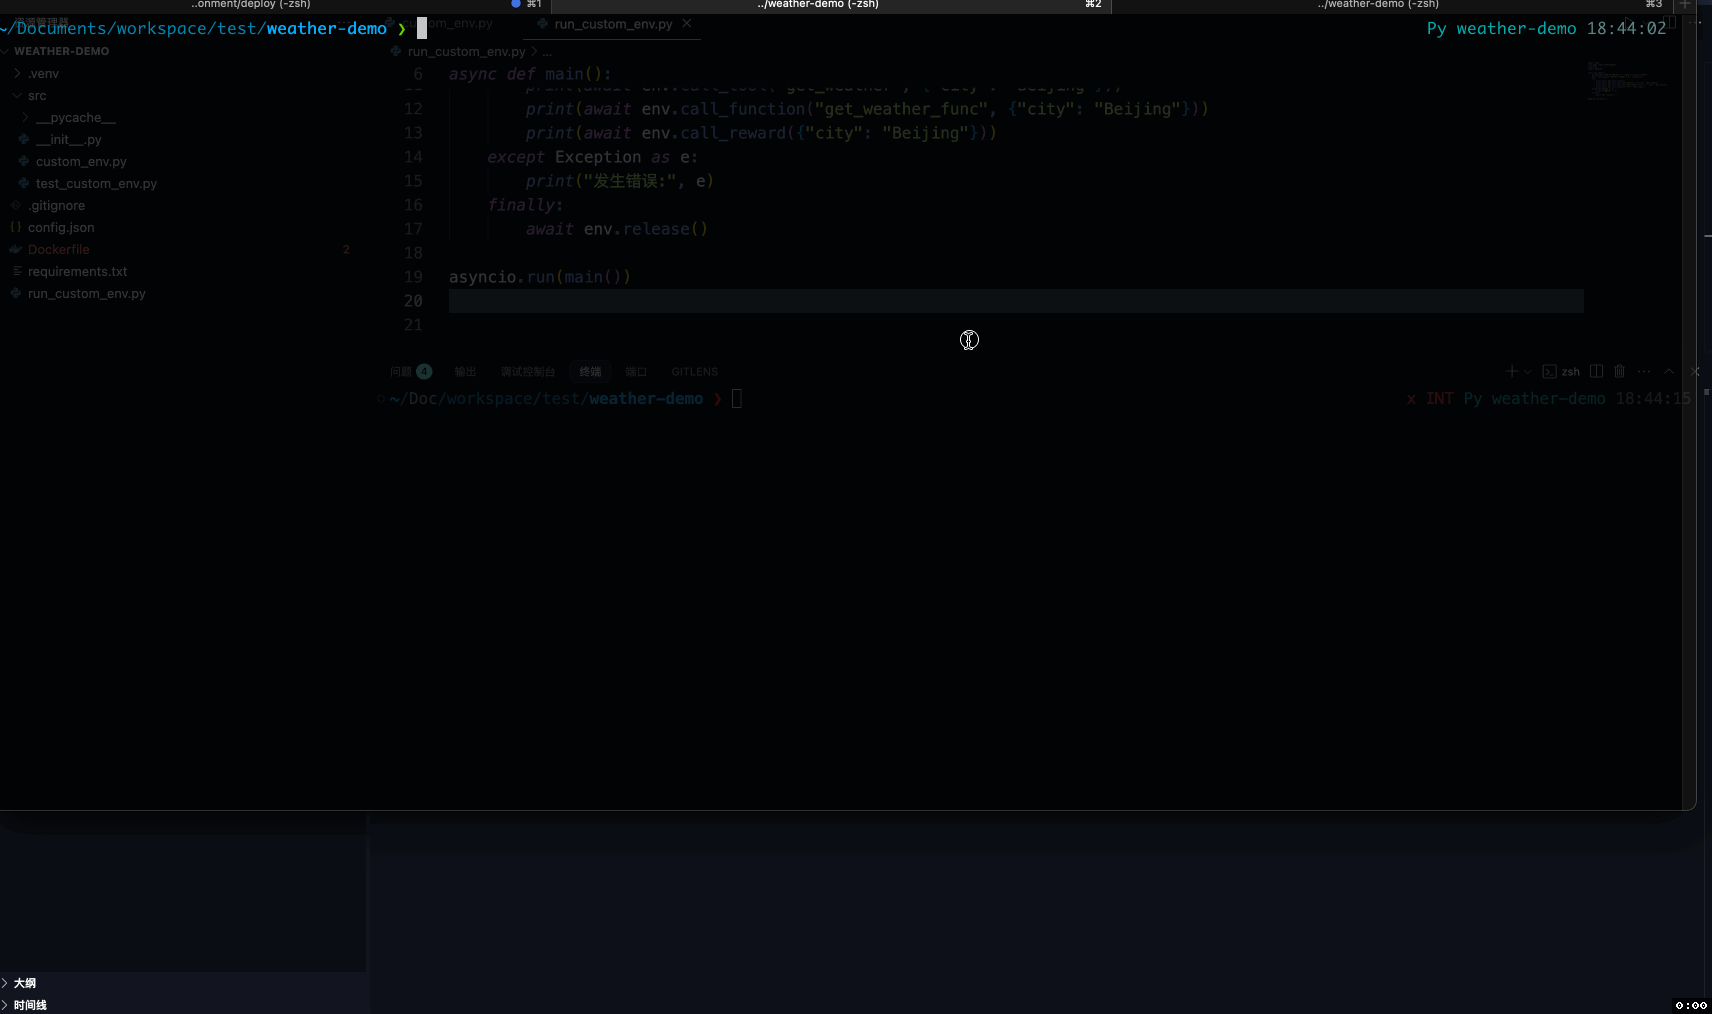
async def main():
# Specify api service address
os.environ["AENV_SYSTEM_URL"] = "http://localhost"
# Create environment instance
env = Environment("weather-demo@1.0.0", timeout=60)
try:
# Make tool calls
print(await env.list_tools())
print(await env.call_tool("get_weather", {"city": "Beijing"}))
print(await env.call_function("get_weather_func", {"city": "Beijing"}))
print(await env.call_reward({"city": "Beijing"}))
except Exception as e:
print("An error occurred:", e)
finally:
time.sleep(10)
# Destroy instance
await env.release()
asyncio.run(main())
Run the code:
python run run_custom_env.py
Observe environment creation and destruction in minikube:
kubectl get pod -n aenvsandbox